Overview
The goal is to setup Classroom Mode so that you, as teacher, can take advantage of various controls to organize the world and people there.
What You Will Need
-
A dedicated computer to serve as the Minecraft: Education Edition server. You will set it up in Step 1 shown below.
-
A computer you can use to run Classroom Mode on. You can also run Minecraft: Education Edition on this computer, as well, but it cannot be the same machine as the “server.”
-
Patience
Step 1 – Setup M:EE Server
Setup a Minecraft: Education Edition World to run as Multi-Player.
a. Modify your new world settings as you like then click MultiPlayer, as shown below. This will become the machine, a.k.a. “server,” you and others can use to connect to.
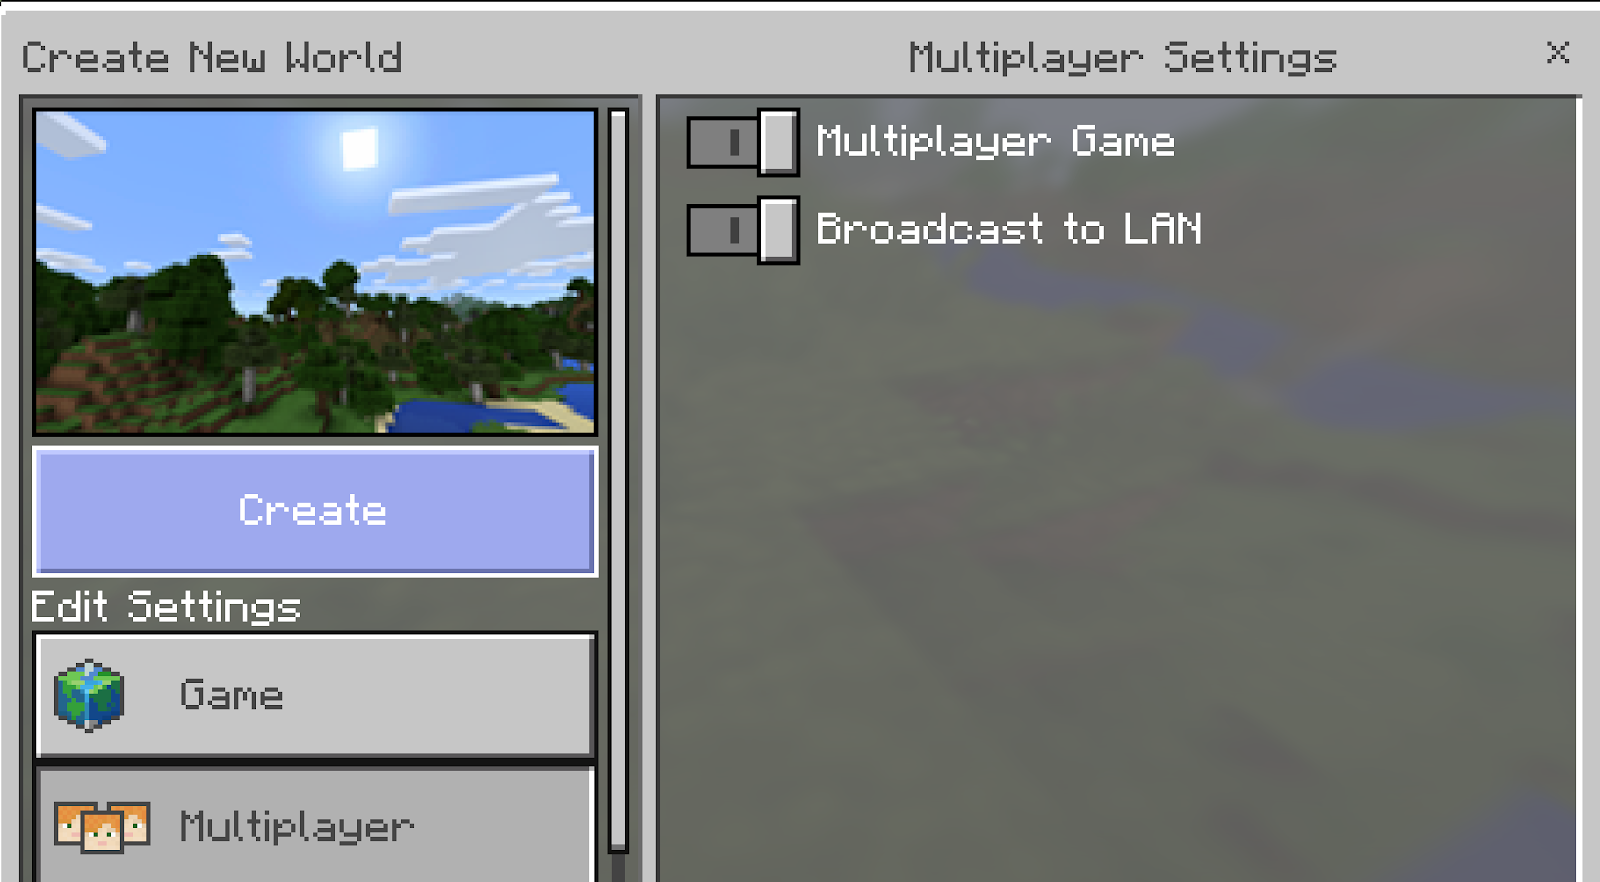
b. Verify that the computer is setup as a server on the Local Area Network (LAN).
Do that by going to another computer and running Minecraft: Education Edition on it. Then, click on FRIENDS and select the server you setup.
Do that by going to another computer and running Minecraft: Education Edition on it. Then, click on FRIENDS and select the server you setup.
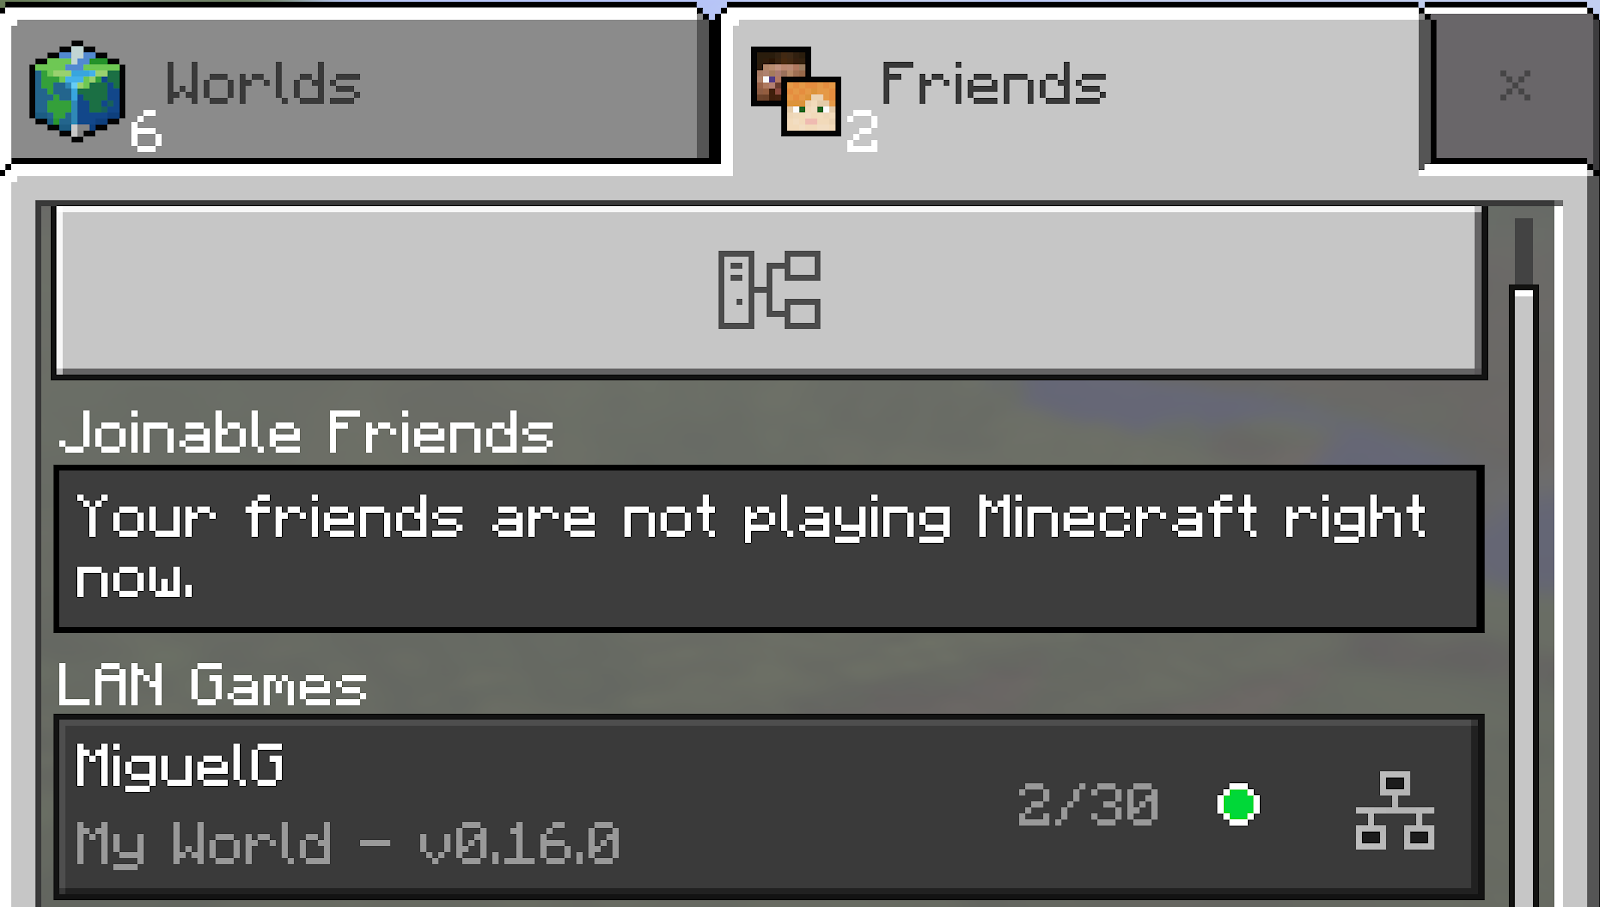
This will generate screens like this one:

Once the M:EE Server is setup, you can run Classroom Mode to connect to it and control it. Let’s do that now.
Step 2 – Setup Classroom Mode on a Computer
Classroom Mode will be used to control the class Minecraft world you setup in Step 1.
Follow these steps below to get Classroom Mode working on your “teacher” computer.
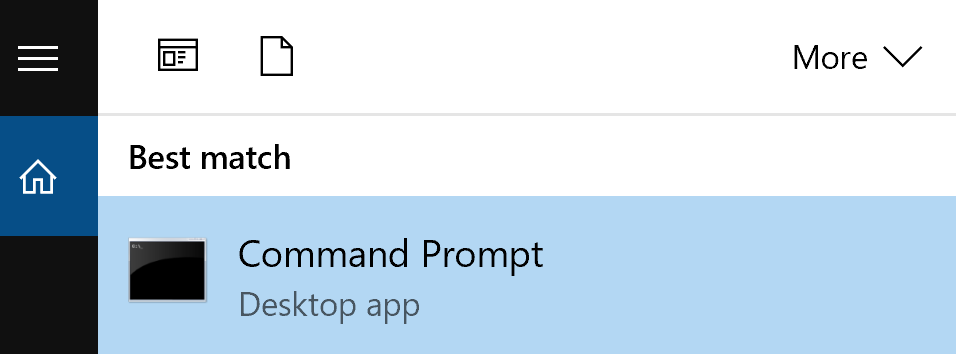
a. Search for “Command Prompt”:
(Back to Top)
-
Right-click “Command Prompt” shown above and then
-
Select “Run As Administrator”.
b. Copy/Paste this command in the command prompt.
Once you are in Command Prompt, which looks like the screenshot below, paste in the command shown in italics below. You should only have to do this once per computer where you want to run Classroom Mode:
CheckNetIsolation.exe LoopbackExempt -a -n=Microsoft.MinecraftEducationEdition_8wekyb3d8bbwe
![Administrator: Command Prompt microsoft Windows [Version la.e. 14393] (c) 2016 microsoft Corporation. All rights reserved. C: exe LoopbackExempt a -n•Microsoft. MinecraftEducationEdition_8wekyb3d8bbwe](https://lh4.googleusercontent.com/DJWuovjljPSVo26M4CWOLb6-uFR_6iR5bjrrmK8wClmhLZVNFta7AIwlSEzysO28JAVZk4mGPSWl8agB1VIvDZqqv9C4D-00Vg0OvVMBW5339Zj97H5y0vwNQvyP-Y_VMOvQWUEoJBIm0IJIcg)
If it works, you’ll see the words OK as a response.
c. In the Classroom Mode App, you should see the following:

Notice that the server titled “MiguelG” at IP address 192.168.90.85 has 2 users out of 30 possible users connected.
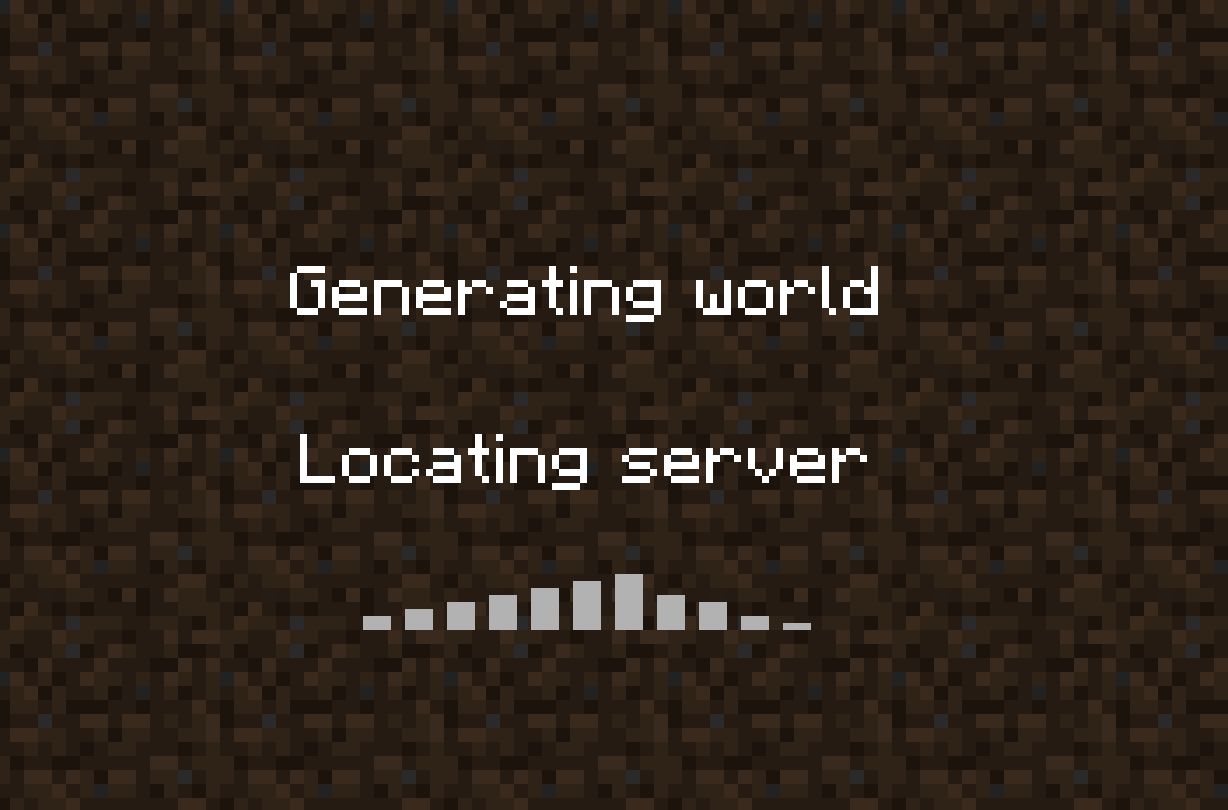
When you click on the server and click CONNECT, you will see this screen:

Then, after a moment, you will see a similar screen as shown below:

Step 3 – Allow Others to Connect to The Server
Now that you have a server set up and are connected to it, you can connect additional users. You can follow the same steps as Step 2b, which are re-inserted below:
Do that by going to another computer and running Minecraft: Education Edition on it. Then, click on FRIENDS and select the server you setup.
This will generate screens like this one:
And, when you are connected, you both will be in this world:
Everything posted on Miguel Guhlin’s blogs/wikis are his personal opinion and do not necessarily represent the views of his employer(s) or its clients. Read Full Disclosure
Discover more from Another Think Coming
Subscribe to get the latest posts sent to your email.
