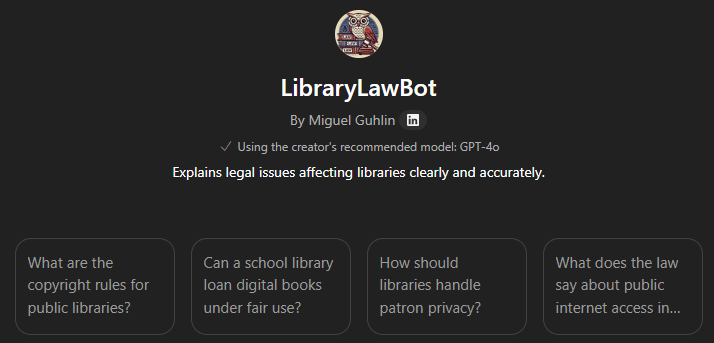
Creating custom GPTs, or Boodlebox Bots, Perplexity Spaces, Google Gemini GEMS, Claude Projects is a lot of fun. In this short walkthrough, I’ll share tips for crafting a ChatGPT Custom GPT. The process is similar to other tools, although OpenAI’s interface with a custom wizard does a wonderful job. In this walkthrough, I’ll be creating a LibraryLawBot custom GPT. Please remember that I’m not a lawyer, and neither is ChatGPT.
My Experience
Switching between AI models has taught me how to quickly build custom generative pre-trained transformers (GPTs), or Bots. You can see what I’ve made online here:
Check out my GenAI GPT/Bot/GEM creations here.
AI Tool Focus: ChatGPT Custom GPTs
For this blog entry, my focus is on ChatGPT Custom GPTs. What makes OpenAI’s custom GPTs stand out for me are:
- Easy to share with others upon completion
- Easy to use wizard that coaches you on creation of the GPT, offering suggestions as it goes
- A way to set up conversation starters as buttons
- Each GPT you set up “forgets” the conversation it has with users who access it
- You can tell it what you want in natural language and it will make the adjustment (not unlike other similar solutions)
- The ability for the user to switch GenAI models at will, although this may break older custom GPTs set up with a different model (e.g. you set it up with a non-reasoning model, and now the user picks a more recent reasoning model to use)
What I don’t like about ChatGPT Custom GPTs? Well, there’s not much.
Did You Know?
I’ll be sharing this process at the TCEA AI for Educators Conference online event, July 22-24, 2025. Be sure to sign up!
Watch the Video
Don’t want to read a long blog entry? Here’s a one-take, 18 minute video (and here’s the checklist I generate in the video):
Steps to Create a Custom GPT
My steps include these five illustrated steps:
1 – Plan Out Your Bot
When I first started making GPTs, I simply threw a lot of stuff at the AI and hoped for the best. Now, I make a quick outline that looks something like this:
- Start with the end in mind. What do I want the end user of the GPT to experience? What will this GPT do that makes it useful to the end user? The artifact for this portion is 2-3 examples of the final product and a clearly articulated process. Consider using the VISOR Framework to get your brain going.

- Gather materials for the Knowledge Bank. Gather documents for the Knowledge Bank that will inform the AI, serving as the AI’s digital backpack of content. Make sure the documents are in a format compatible with the AI. If possible, make modules of the content, lumping all related or similar content in one text file. This makes it easy to update the AI later if something becomes out of date.
- Generate an icon prompt. This is a prompt (ask the AI to help you) that describes the type of Custom GPT icon you want. ChatGPT will generate one right in the custom GPT development window, so you’re all set to go unless you want to use an icon or image from somewhere else (like design it in Canva with your specific logo).
- Formulate the Greeting. What will you put in the greeting for the user, including possible conversation starters or questions users can ask the Custom GPT.
Ok, for your next step, you will be spending your time in the Custom GPT Editor. Let’s pause a moment in our step by step exploration to take a quick look at it.
About Custom GPT Editor
The Custom GPT Editor is pretty amazing. The first screen you will see is this one, the CREATE window:
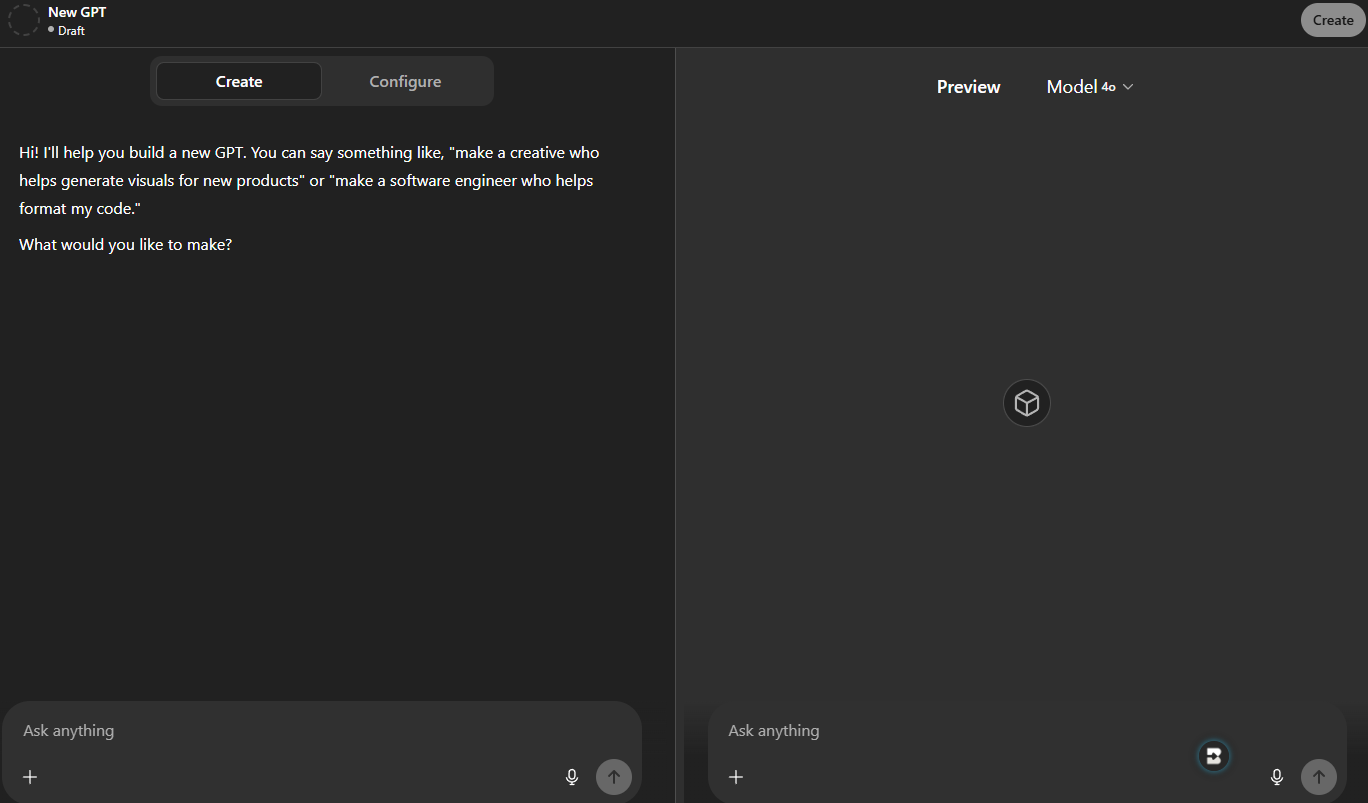
You can start having a conversation in natural language. But, you can also drop your custom instructions on the left side of the window, upload all the files in your Knowledge Bank, etc. Almost everything can be done from this view.
But there is a second page that provides even more functionality–The Configure Window
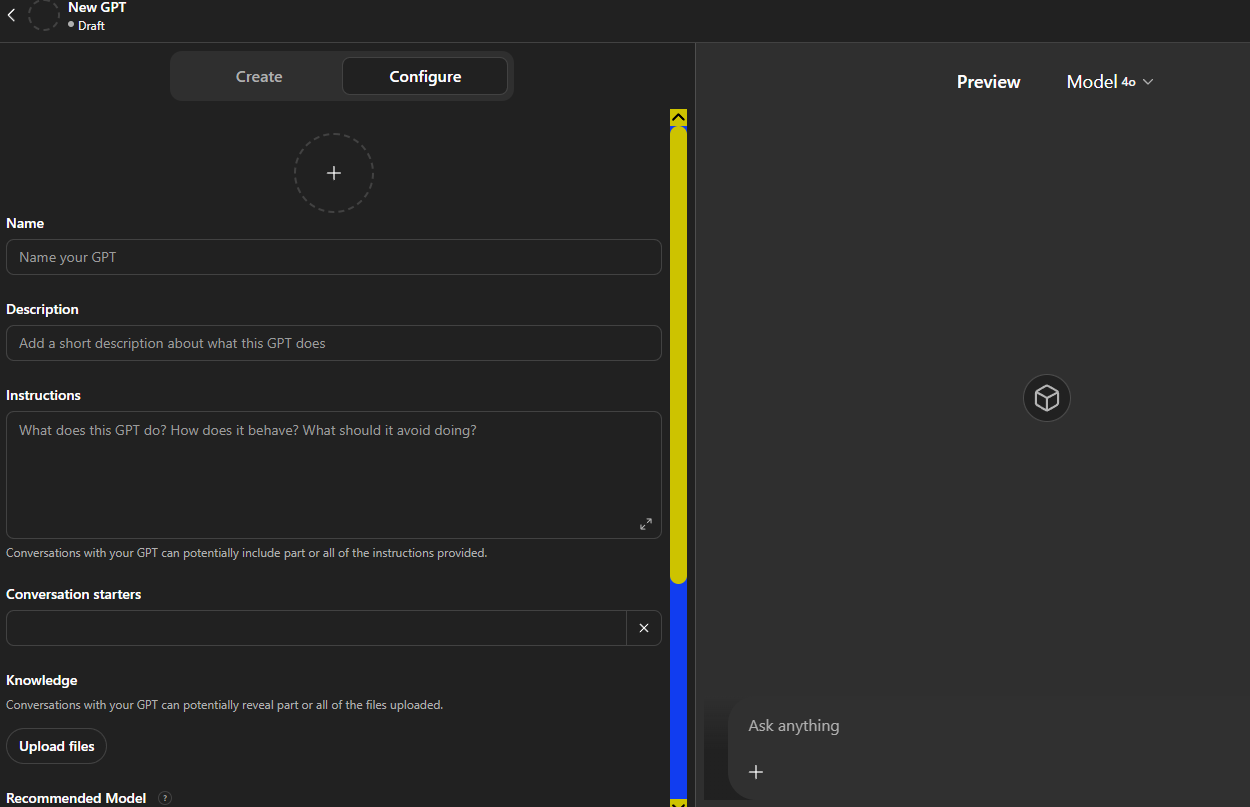
This provides a little more step by step approach that you can drop prepared content into.
My recommendation? Start with the Create side if you aren’t sure what to do first. Once you have worked your way through most of the steps, you can switch to Configure window to make final adjustments. I have some more suggestions in the video tutorial.
2 – Update the Knowledge Bank
It’s tempting to start creating the GPT in the wizard, but you’re better off creating a folder on your computer/device. Then, aggregate content you want the GPT to refer to in that folder as text files (convert them if you need to using a tool like Boxoft PDF to Text on Windows). Boxoft PDF to Text is an amazing workaround for bulky PDF files, including PowerPoint formatted files you get out of Canva, Google Slides, etc.
- Create a new folder to house all the files (e.g. text files, PDFs, images) relevant to this particular GPT (you can re-use Knowledge files in other GPTs, what a time-saver!)
- Upload/put your files in the folder you just created
- Make sure that you know what file formats your GPT tool accepts. Some accept Markdown files (.md) as text files (.txt), which is a space saver and easier for the AI to process (in my experience).
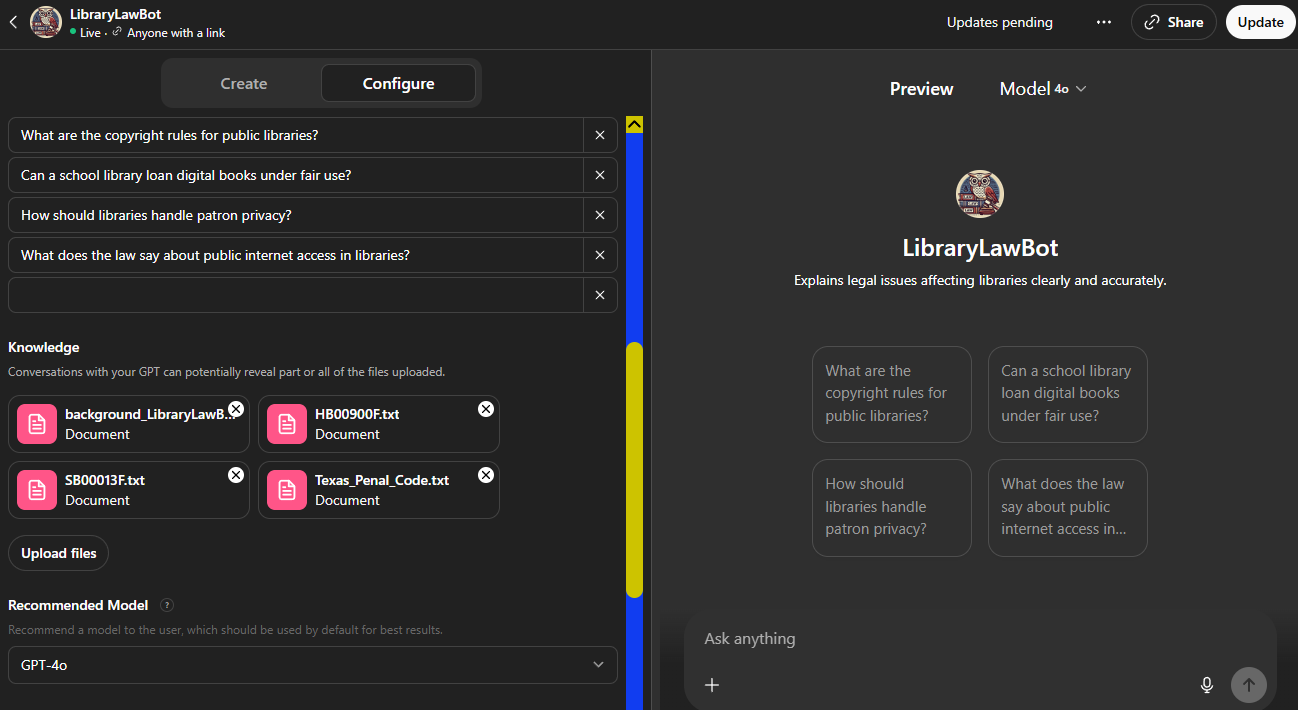
- Upload all the files, 10 at a time, to the Custom GPT wizard.
Here’s what that looks like using the Library Law Bot Custom GPT as an example:
3 – Design custom instructions
Custom instructions provide the broad strokes, and can serve as an index or table of contents to refer to what’s in the Knowledge Bank. If students (adult learners since you can’t use it with K-12 students) will be working with the Bot, maybe add an “activate learning mode” option to scaffold thinking.
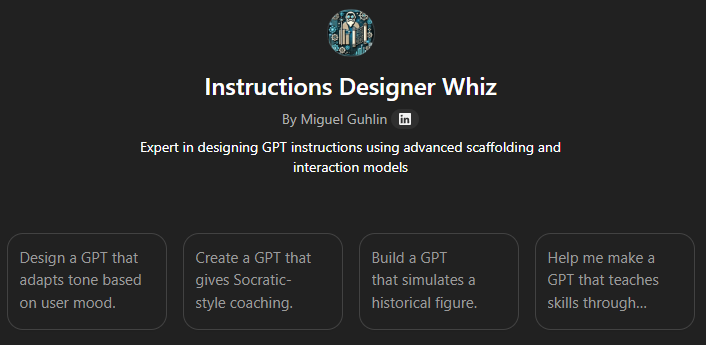
Need Help Getting Started or Improving Your Instructions? Use the TCEA Instructions Designer Whiz I put together to help you. It’s designed to help you craft custom instructions that work well.
4 – Fine-Tuning the Custom GPT
At this point, you are fine-tuning the custom GPT. Let’s review…you’ve already:
- Uploaded (put) your Knowledge Bank files in the GPT
- Agreed to the suggested icon, or asked it to customize it, that the GPT Wizard asked you to create
- Submitted custom instructions
- Fine-tuned the Conversation Starters
- Customized the Greeting you want the users to see and how the GPT should interact with the users (via the custom instructions)
So, with all that, what’s left to do? Test the GPT and make adjustments.
Some additional customizations? Add a feedback form (see below) and tailor the tone/attitude/conversational level of the GPT. You can also require it to output responses in markdown format or markdown table format. This makes it easier to copy-n-paste to different locations.
5 – Test and Adjust
Once you have clicked the PUBLISH button, copy the share link and open a new tab/window in your browser. Do some testing.
If it gives results you don’t like, come up with an example response of what you want to see, then drop the question and ideal response into the Knowledge Bank as a text file.
Final Steps
As you consider the effectiveness of the Custom GPT you’ve created, consider putting together a feedback form. Add an instruction to your Custom Instructions that has the Custom GPT suggest a link to a Google Form to collect feedback:
After every three interactions, ask the user to fill out a form to give feedback on your interactions with them. Provide an embedded link to the Google Form with the words, “Please provide some feedback on our interactions using this short form. Thanks in advance!” Here is the link to use for the embedded link: [link to Google Form]
Sample Survey Aligned to VISOR Framework
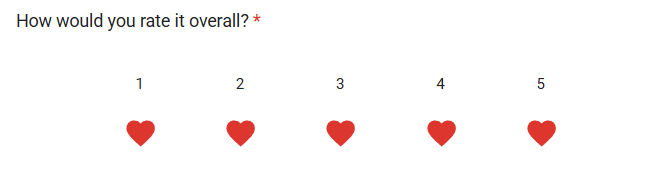
Here is the content of the survey. You can modify the form elements. For example, in my version, I added a catch-all question with hearts in a shameless quest for Bot adoration:
AI Bot Feedback Survey
Form Description: Thanks for using this Custom GPT! Please answer these 5 quick questions to help us improve.
1. Did the GPT help you accomplish your main goal today?
- (Multiple Choice)
- Yes
- Mostly
- No
(This question covers V – Value)
2. On a scale of 1 to 5, how easy was your experience with the GPT?
- (Linear Scale)
- 1 = Very Difficult
- 5 = Very Easy
(This question covers I – Ideal)
3. What was the most helpful part of your experience?
- (Short answer text)
(This question covers S – Selection)
4. What was the most frustrating or confusing part of your experience?
- (Short answer text)
(This question covers O – Obstacles)
5. What is the one thing we should improve?
- (Short answer text)
(This question covers R – Review)
End of Form Message: Thank you for your feedback!
Discover more from Another Think Coming
Subscribe to get the latest posts sent to your email.
